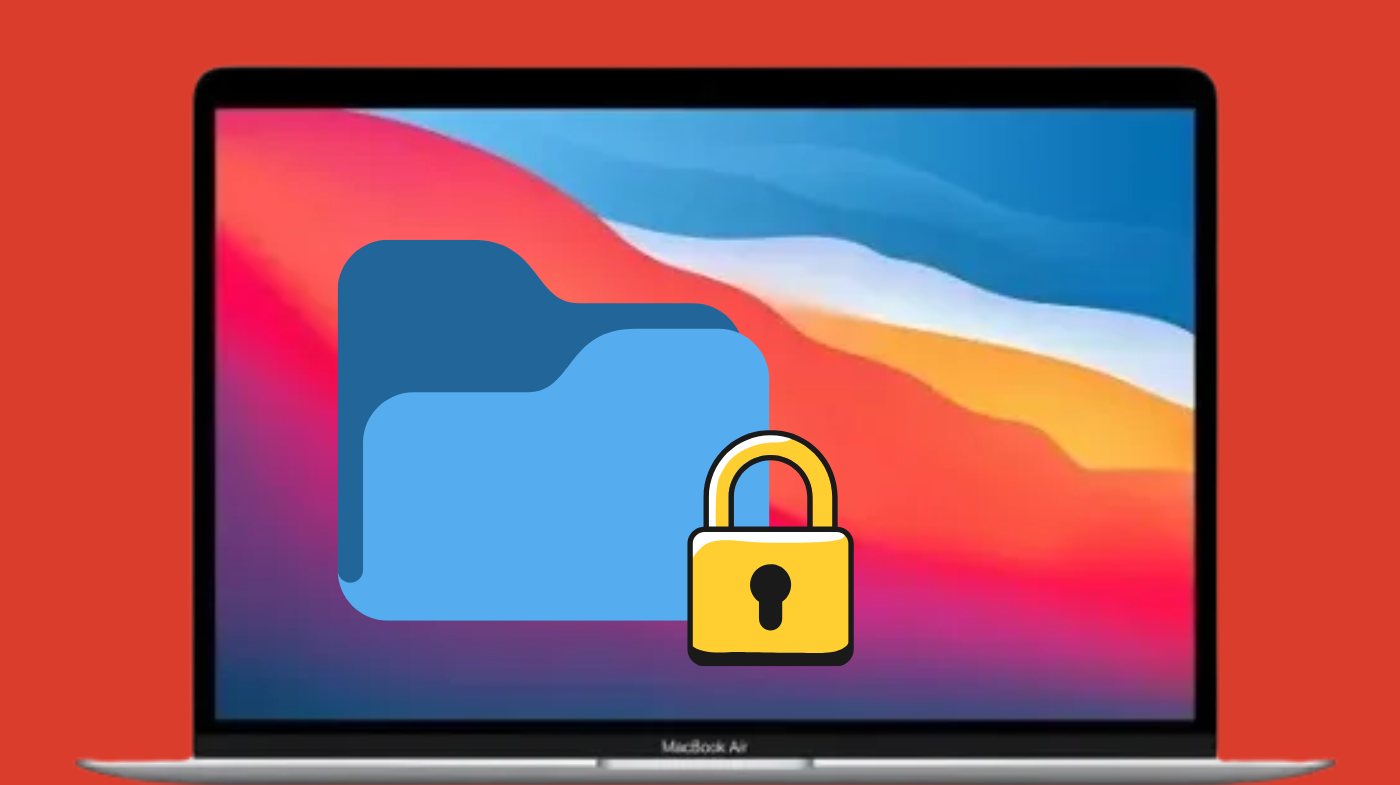
How to Password Protect a Folder on a MacBook? Full Guide
Protecting sensitive data on a MacBook is no longer optional in today’s digital landscape. Learning how to password protect the folder on MacBook ensures personal files, financial documents, and confidential information remain secure from unauthorized access.
Using macOS’s built-in Disk Utility, users can create encrypted disk images that act as digital vaults, requiring authentication every time someone attempts to open them.
This comprehensive guide walks through the entire process, from gathering files to managing encrypted folders, covering essential steps like choosing the right encryption strength, setting robust passwords, and maintaining security after creation.
By the end, MacBook owners will possess the knowledge to safeguard their most important data without installing third-party software.
Steps to Password Protect a Folder on MacBook
Securing a folder on a MacBook involves creating an encrypted disk image through Disk Utility, Apple’s built-in tool for managing drives and encryption.
Step 1: Gather Your Files
Before starting the encryption process, organize all files requiring protection into one location. Create a new folder on the Desktop or another easily accessible area and move the sensitive documents, photos, or other data into this folder.
This consolidation simplifies the encryption process and ensures no important files are accidentally left unprotected.
Step 2: Open Disk Utility
Navigate to Disk Utility by opening Finder, then selecting Applications > Utilities > Disk Utility. Alternatively, use Spotlight search by pressing Command + Space and typing “Disk Utility” for quicker access. This application serves as the primary tool for creating encrypted, password-protected folders on macOS.
Step 3: Create a New Disk Image from Your Folder
Once Disk Utility opens, click File from the top menu bar, hover over New Image, and select Image from Folder. A file browser window appears, allowing navigation to the folder selected in Step 1. Select the target folder and click Choose to proceed with creating the encrypted disk image.
Step 4: Configure Your Disk Image
The configuration window presents several important options. In the Name field, enter a descriptive title for the disk image file. Choose a save location that’s convenient yet secure.
Under Image Format, select read/write to maintain the ability to add, remove, or modify files after encryption. For Encryption, choose between 128-bit AES for faster performance or 256-bit AES for maximum security.
The 256-bit option provides stronger protection but may take slightly longer to encrypt and decrypt files.
Step 5: Set Your Password
After clicking Save, a password prompt appears. Here’s where users should generate strong password combinations using uppercase letters, lowercase letters, numbers, and special characters.
Enter the password and verify it by typing it again in the confirmation field. Avoid saving the password to the Keychain if a password prompt is desired every time the folder is opened. Click Choose to finalize the password and begin the encryption process.
Step 6: Access Your Protected Folder
Disk Utility creates a .dmg file containing all encrypted contents. To access the protected folder, double-click the .dmg file from its saved location. A password dialog box appears—enter the previously created password and click OK.
The disk image mounts as a virtual disk in Finder’s sidebar, displaying all contained files. Files can be freely added, deleted, or edited within this mounted disk image.
Step 7: Secure Your Folder
After completing work with the encrypted files, secure the folder by ejecting the disk image. Locate the mounted disk in Finder’s sidebar and click the eject icon next to its name.
Once ejected, the folder locks automatically, requiring the password for the next access attempt. This step ensures the encrypted contents remain protected when not actively in use.
Step 8 (Optional): Delete the Original Folder
For maximum security, consider deleting the original, unencrypted folder after confirming the .dmg file works correctly. Test the encrypted disk image by opening it, verifying all files are present and accessible, then ejecting it.
Once confident the encryption succeeded, move the original folder to Trash and empty it permanently. This eliminates any unprotected copies of sensitive data that could be accessed without a password.
Why Password Protection Matters on MacBook?
Data breaches and unauthorized access threaten personal privacy daily. Password-protecting folders creates a critical security layer that prevents others from viewing confidential information, even if they gain physical access to the MacBook. This becomes especially important for shared devices or laptops used in public spaces.
Encrypted folders also protect against identity theft by securing documents containing personal information like tax records, passport scans, or medical records. Additionally, how to password protect folders on MacBook techniques help comply with data protection regulations for professionals handling client information or sensitive business data.
Choosing the Right Encryption Level
MacBook users can select between two Advanced Encryption Standard (AES) levels when protecting folders. The 128-bit AES option offers solid security with faster encryption and decryption speeds, making it suitable for most personal use cases. This level provides adequate protection for everyday sensitive files without noticeable performance impact.
For users handling extremely sensitive data or requiring compliance with strict security standards, 256-bit AES delivers enhanced protection. Though slightly slower during encryption processes, this option provides maximum security against advanced attacks. Government agencies and financial institutions typically mandate 256-bit encryption for classified or regulated information.
Best Practices for Strong Passwords
Creating robust passwords remains essential for maintaining folder security. Effective passwords combine uppercase and lowercase letters, numbers, and special symbols to increase complexity. Avoid using personal information like birthdays, names, or common words that could be easily guessed.
Password length significantly impacts security—aim for at least 12 characters to resist brute-force attacks. Consider using a password manager to generate strong password options and securely store them. Never reuse passwords across multiple accounts or folders, as this creates vulnerability if one password becomes compromised.
Managing Multiple Protected Folders
For users protecting several folders, organization becomes important. Create a dedicated location for storing all .dmg files, making them easy to locate when needed. Use descriptive names that clearly identify each encrypted disk image’s contents without revealing sensitive information.
Consider the read/write image format for folders requiring frequent updates, as it allows seamless file management without recreating the entire disk image. For archival purposes or folders that rarely change, read-only formats provide additional protection against accidental modifications.
Recovering Access to Encrypted Folders
If a password is forgotten, recovering access to an encrypted folder becomes extremely difficult or impossible. Apple’s encryption doesn’t include a backdoor or master key, meaning lost passwords result in permanent data loss. This underscores the importance of choosing memorable passwords or safely storing them in a trusted password manager.
Before encrypting important folders, consider maintaining backup copies on separate storage devices or cloud services. These backups should also be encrypted using different passwords to prevent single-point-of-failure scenarios.
Frequently Asked Questions
Can I add files to an encrypted folder after creating it?
Yes, as long as the image format was set to read/write during creation. Mount the .dmg file by entering the password, then drag and drop new files into the mounted disk image just like a regular folder. After adding files, eject the disk image to lock it again.
Does password protection work if my MacBook is stolen?
Password-protected disk images provide security even if the MacBook falls into the wrong hands. Without the correct password, encrypted files remain inaccessible to thieves. For comprehensive device security, combine folder encryption with FileVault full-disk encryption and a strong user account password.
Is Disk Utility the only way to password protect folders on MacBook?
While Disk Utility is the built-in macOS solution, third-party applications like BetterZip offer alternative methods with additional features.
Some apps provide faster workflows, more encryption options, or integration with cloud storage services. However, Disk Utility remains the most accessible option without requiring additional software purchases.
How much slower is 256-bit encryption compared to 128-bit?
The performance difference is typically minimal on modern MacBooks with Apple Silicon or recent Intel processors.
Initial encryption might take slightly longer with 256-bit AES, especially for large folders, but everyday mounting and file access speeds remain nearly identical. For most users, the added security of 256-bit encryption outweighs any minor performance considerations.
Safeguard Your Sensitive Data Today
Password-protecting folders on MacBook provides essential security for personal and professional information. Through Disk Utility’s encryption features, users can create secure disk images that require authentication before access, preventing unauthorized viewing of confidential files.
Selecting appropriate encryption levels, crafting strong passwords, and following best practices ensures maximum protection. Taking these steps today safeguards valuable data from potential threats while maintaining convenient access for legitimate users.